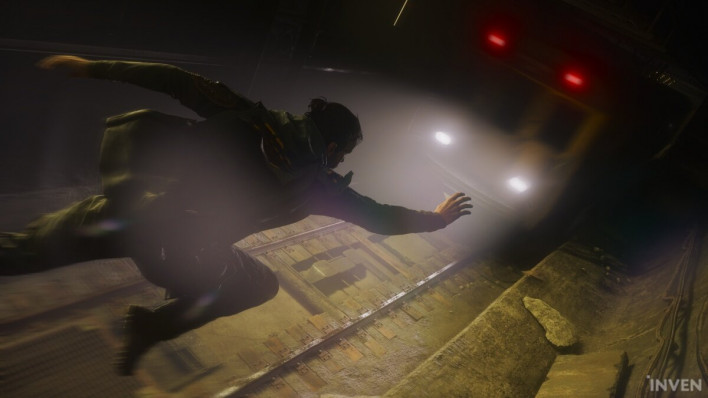
A game that delivered a rare AAA experience to genre fans by weaving bizarre lore and an SCP Foundation-esque world. Furthermore, a story that has now become a core part of Remedy's game universe alongside Alan Wake through the unified urban fantasy world known as the Remedy Connected Universe: Control. And its sequel, CONTROL Resonant, is slated for release on October 15.
At this year's gamescom, a hands-off demo session was hosted to show players firsthand what CONTROL Resonant will look like upon release. Community Manager Julius Fondem played the game live while explaining the gameplay, with Manager Miika Huttunen joining in to walk through more detailed information.
While it was harder to get a feel for playing hands-on, watching the demo clear all the way to the area boss made it much easier to confirm the key features the game aims to deliver. In particular, the flashy airborne action showcased a level of speed in a league of its own compared to any previous Remedy game.
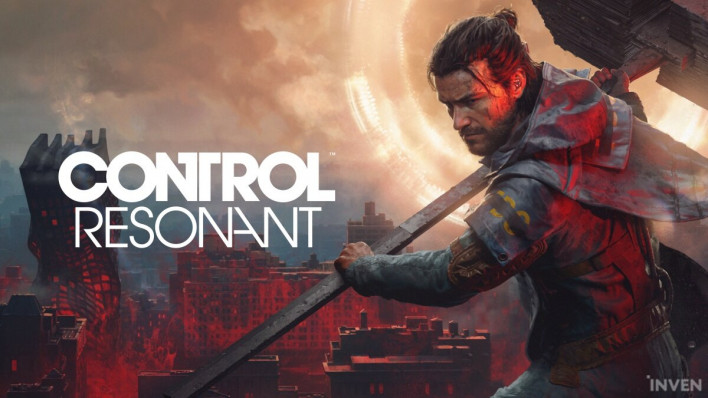
The Park Consumed by Mold, Dylan Cuts Through Gravity

The stage for this demo is a new area called 'The Park.' Briefly glimpsed in previous trailers, players of the original Control will likely be able to guess what is happening here just by its visuals.
As the Oldest House's pipeline was damaged, not only the Hiss but also dimension-invading entities known as the 'Mold' leaked out, completely consuming The Park. The Mold is designed to entice targets both visually and olfactorily. The developers explained that 'the Mold looks delicious and smells fragrant, which entices targets to eat it voluntarily and mutate into Mold.' During the demo, NPCs infected by the Mold were shown basking in euphoria before slowly turning into Mold themselves, heightening the game's uniquely bizarre atmosphere.
As a parautilitarian, the protagonist Dylan can resist this infection effect, setting up the premise for the demo's objective: collecting—or more accurately, ingesting—Mold samples. Having already secured 3 samples, the journey focuses on heading to a minimart in the zone to obtain the final 1.

Traversal primarily takes place in midair. Dylan can jump, double jump, hover in the air similar to gliding, and perform dashes while airborne. As the list of aerial actions suggests, watching him zip between buildings creates a sense of speed unseen in any past Remedy game. The animation is even more striking; while hovering airborne typically features superhero-like poses, Dylan looks as though he is forcibly pushed along by his own powers, making it feel all the more grounded.
Another key feature is the gravity manipulation ability, Shift. Using this ability alters the direction of gravity on structures. Shifting gravity by 90 degrees, for instance, allows players to sprint forward along what would otherwise be a vertical Z-axis path. In essence, unless blocked by a specific mechanic, ground paths will never block your way.
Additionally, shortcuts designed to reduce traversal fatigue were scattered throughout the zone. Side facilities, such as FBC field research posts set up to study the Mold, caught the camera's eye, but entering them was skipped due to time constraints. The developers commented, 'We hope players discover the people and interesting stories inside for themselves in the full game.'
No Shields: Attack Is Survival
The combat system received the most time during this demonstration. Dylan's primary weapon is the Aberrant, a shapeshifting melee weapon. Its first form consists of Dual Blades that excel in speed and critical hits, featuring a spinning blade attack as a combo finisher that deals continuous damage in place. Its second form is a massive Drill. Striking enemies with the drill builds up a purple gauge; once filled, it deals increased damage to the target while triggering a stumble—the Polter state. Once the yellow Polter gauge displayed on screen fills up, that enemy can be executed immediately.
Adding special abilities to this expands the scope of combat. The demo highlighted two abilities: Ignite, which inflicts fire damage and the burn status effect simultaneously, and Barrage, which fires rocks and other debris from range to induce Polter. Lore-wise, the Mold is vulnerable to fire. By inflicting the burn status with Ignite and then building up the Polter gauge with the Drill, players can trigger the Polter state much faster.
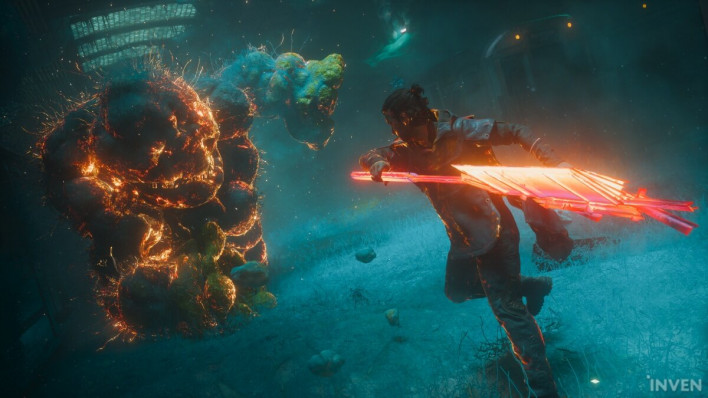
Using special abilities requires a Power gauge, a resource restored only by attacking enemies. In other words, combat naturally forms a virtuous loop: recover Power by attacking, use abilities with that Power to induce Polter, execute Polter-afflicted enemies to gain Dominance—a buff that boosts damage for a duration—and continue delivering even stronger attacks.
The developers described this as 'a great loop of attacking, using abilities, causing stumbles, executing to gain Dominance, and dealing even greater damage again.'
Particularly striking is the complete absence of defensive mechanics. The game features no guarding or parrying, intentionally encouraging players to maintain an aggressively offensive playstyle throughout. Executing enemies is also the sole method to restore health during combat, with health recovery items available only out in the field outside of battle. The developers summarized this design philosophy as 'offense is the best defense.'

However, players are not entirely defenseless. There is a Perfect Dodge mechanic acquired early in the game; evading an enemy attack with precise timing triggers a slow-motion effect along with a temporary damage boost. This slow-motion effect appeared several times during the demo. When a reporter on-site pointed out the screen slowdown, the developers answered that it was the effect triggered by a successful Perfect Dodge.
Explanations regarding the characteristics of Mold-type enemies followed. Unlike the original game's focus on Hiss enemies, this demo concentrated heavily on the Mold. Mold enemies are generally larger and feature varied attack patterns—utilizing damage-over-time and explosive attacks—but are relatively slow.
A Gravity-Warped Battlefield: Fighting the Tentacled Monster 'The Collective'
Before diving into the actual boss battle, there was a brief period for preparation. Artifacts discovered during exploration serve as gear items that allow players to fine-tune their build for specific combat situations. In the demo, the player swapped out a Fork artifact—which increases melee damage by 15%—for a Fingerboard, which boosts damage and Polter values by 25% each in gravity anomalies. Given a world where small symbolic objects drive massive phenomena, using items like a fork or fingerboard left a strong impression.
As the upcoming boss fight was set in the middle of a massive gravity anomaly area, this setup was tailored specifically for the scenario. The developers also introduced the game's gravity manipulation mechanic during this moment. Dropping an item from Dylan's hand showed it 'falling' toward a specific direction rather than straight down, with the team explaining that 'gravity is actually pulling in that direction.' Visual details such as a companion character's hair and clothes swaying to one side were also highlighted as elements supporting the gravity anomaly. It effectively demonstrated the game's mechanics through graphical presentation.
When asked if Artifacts could be swapped immediately, the team answered that while unlocked Aberrant forms can be changed anytime in the menu, upgrades and unlocking new forms require a separate process.


With preparations complete, all surrounding enemies were defeated to clear the Mold wall blocking the minimart. Following that, the battle against the demo's first Resonant boss, 'The Collective,' began.
This boss features an attack pattern where it uses two tentacles to project blobs of Mold from range. Advising that 'it's best to dodge this attack as fighting it head-on isn't very fun or effective,' the team chose a route flanking around to the side. They then used the Barrage ability to induce Polter on one tentacle before executing it to earn the Dominance buff, using that momentum to clear the remaining tentacle.
Upon passing the first phase, the boss exposed destructible weak points on its body. The developers noted, 'While The Collective has exposed its weak points, it will also try to protect itself,' explaining that players must first deal with mobs summoned around it before destroying the weak points. These mobs were not small and were armored on the front, meaning frontal attacks dealt virtually no meaningful damage.
Frontal attacks were largely ineffective against the dark, armored sections. Since options included spending time breaking the armor or flanking around back to attack, the developers opted to execute flank attacks from behind.
Once the add mobs were cleared, the boss's weak point was fully exposed and successfully destroyed. The battle then transitioned into its final phase, with two tentacles appearing in front to push Dylan into a corner. Here, a strategy of using cover to focus on one tentacle's weak point first was employed. Mid-fight, a large enemy landed nearby, creating a momentary crisis, but Dylan immediately repositioned to evade danger. When low on health, prioritizing evasive moves over recklessly pressing the attack was also demonstrated.
Defeating the boss moved Dylan into a liminal space called The Gap. Existing within Dylan's mind, The Gap is a space where players choose one of the new paranatural abilities earned whenever a Resonant is defeated. In this demo, the choice was shown between 'Score Burst,' which allows Dylan to fire Mold projectiles directly from his arm, and 'Growth,' which summons a Mold ally that shoots scores. The developers explained, "You can only choose one ability at a time and cannot hold both simultaneously, but you can swap to the other choice at any time during gameplay using 3 Spec Points." Additionally, in New Game Plus, players start while retaining the ability chosen initially, with the remaining ability unlocked as well.
There are a total of 6 slots for equipping abilities. Players basically utilize 3 abilities and can switch slots via a specific button to use the other 3. The demonstration concluded with the developers adding that players can acquire new Artifacts, change paranatural abilities, upgrade Aberrant forms, and earn new Talents within The Gap.
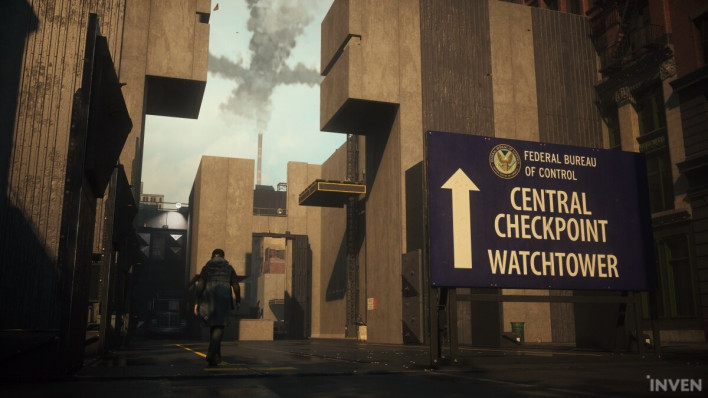
The backlash resulting from defeating a Resonant is another key point. The developers explained, "Defeating a Resonant triggers a phenomenon known as a 'Resonant Surge'—something driving Patterning strikes back." While this makes remaining enemies in the area stronger, it simultaneously refreshes various world content. Interestingly, players do not have to defeat every Resonant. The team emphasized, "You don't need to defeat every Resonant in the game, and the order in which you challenge them is entirely up to you."
Hidden Story, Open-Ended Combat — All That Remains Is Launch
This hands-off demo focused primarily on confirming the core combat framework and world building, while story details—the most anticipated aspect—were kept strictly under wraps.
However, combat design that eliminates defensive measures entirely to rely solely on executions for healing, combined with status effect synergies between fire and infection, promised a pace distinctly different from the predecessor. The non-linear progression—leaving the choice of Resonant count and defeat order to the player—also clearly highlights the direction of this entry, expanding into an open-ended structure.
While the original Control delivered a dense narrative within the enclosed setting of the Oldest House, CONTROL Resonant expands its stage across all of Manhattan while directly continuing the story of the Faden siblings.
Notably, this demo was conducted on a PC build from approximately three weeks prior. Before the demo began, the developers noted that certain unfinished elements remained, such as the final audio mix not yet being applied, suggesting the launch version will offer an even more impressive experience.